Thursday, July 28, 2011

Our Favorite Dill Pickle Recipe With Canning Instructions

For years I would ask around with in my husband's family for Granny's pickle recipe only to be told that Uncle Bud had it and no one else. Finally, Connie got it for me, I received it a few years ago and have been playing around with it every summer.
 If you like your dill pickles salty this is the recipe for you. Loads of dilly flavor, peppery and extra garlic (one of my additions).
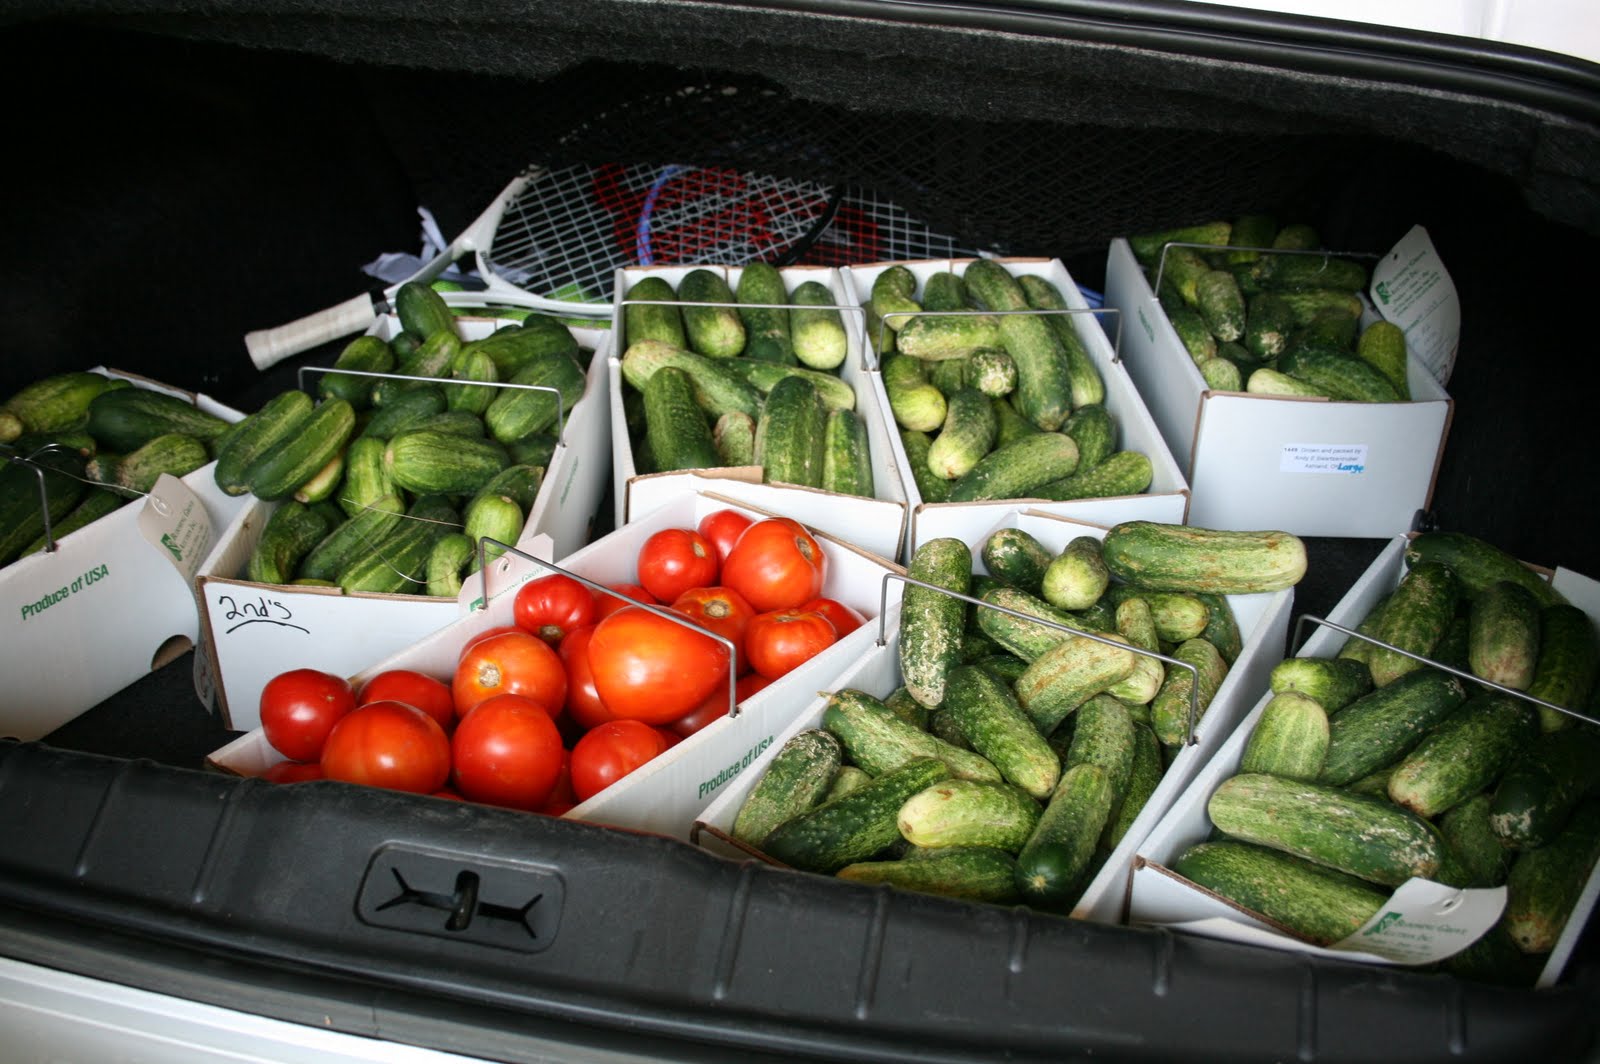
This year my daughter picked up pickles at a produce auction.
There were some blackberries too but that's another story. We have a few of our own raspberry and blackberry bushes but we use a great deal more than we harvest so far.
Do your prep work first and canning anything is easy, lots of work but not difficult.
Make sure you have all your ingredients gathered.
Wash everything, jars, rings, canner and have all the new lids you will need, you don't want to run out part way through processing.
Here is the basic recipe that I have tweaked and use with very few variations at this point.
Brine:
1 cup canning/pickling salt (yes, it is different from table salt)
1/2 cup plus 3 tablespoons white vinegar
1 gallon of purified water
Per quart jar:
1/2 teaspoon mustard seed
1/2 teaspoon black peppercorns
1/2 teaspoon dill seed or one whole dill stalk with leaves
2-5 garlic cloves, depending on size or how much you like garlic
I use these amounts for cucumbers, for banana peppers, I increase the garlic and pepper and decrease the dill. I play around with the spices for each different vegetable.
Prep:
Clean jars.
Clean cucumbers and peppers.
Heat brine, you will have to remake this several times depending on the amount you are canning. I know, it looks like a pot of water but really, it has the vinegar and salt in it too and is simmering that's why it appears blurry.
Sterilize the lids by simmering for just a couple minutes.
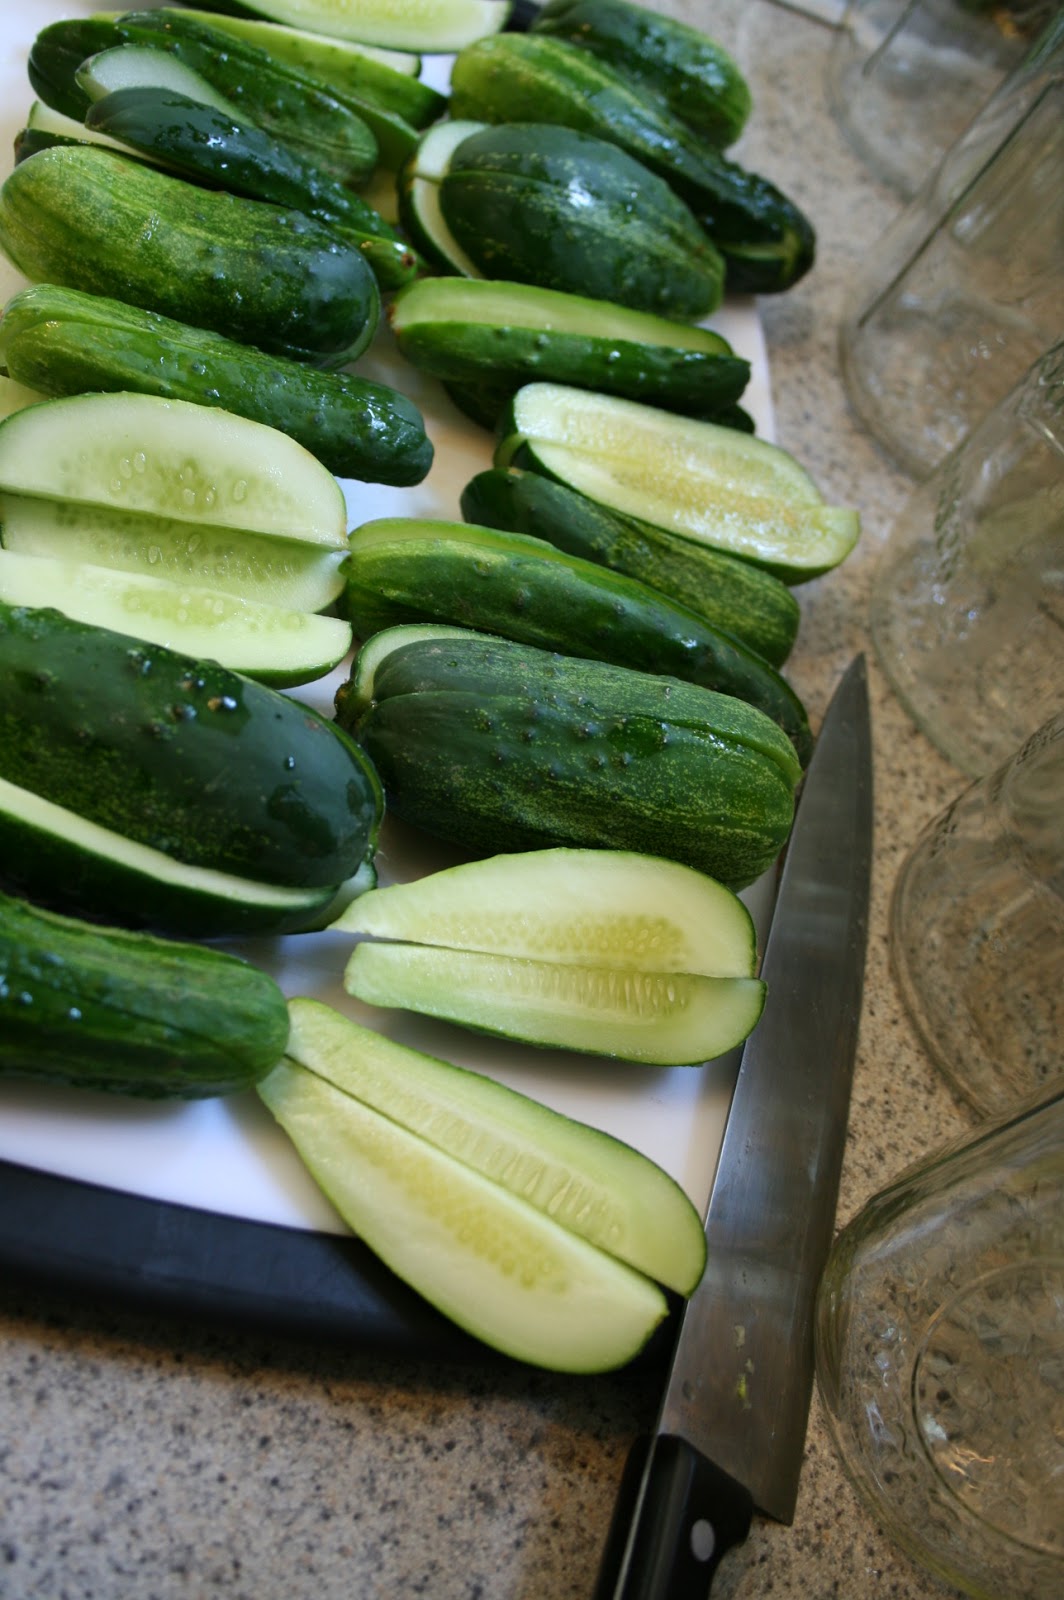
Halve, quarter or slice the cucumbers.
Seed the peppers and slice.
Fill the canner about half full, yes, I'm a "half full girl", and start the water heating. You want it about the same temperature as the brine so the jars won't crack. If it looks hot it is hot, not rocket science.
Fill jars with cucumbers and/or peppers.

Line up the full jars and add the spices.


Fill with hot brine to 1/2 inch from top, this is called head space.
Place lid on jar,
 screw on ring and place carefully in the canner.
Bring up to rolling boil then start timer for 10 minutes, no longer or you will have mushy pickles.
You must fill the canner or the jars will bump around and crack, if you don't have enough pickles for the last load in the canner then fill a jar with hot water and put it in to fill the empty space.
Remove jars with a jar lifter.
Place hot jars on a towel and leave, as in DO NOT MOVE THEM, over night. The lid should vacuum in and you will hear a little pop on each jar. If this does not happen then the jar did not seal for a variety of reasons, just place jar, once cool, in fridge and in 3 weeks, not before or it will taste like vinegar, eat them.
The next day, remove the rings, wash the sealed jars and label with date because you want to wait the same 3 weeks before opening. Always date the jars so next year you use the older ones up first.

 I am going to experiment with refrigerator pickles soon, I'll let you know.

Sunday, July 24, 2011

Zucchini Bread--Even the Picky Eater Liked It

It is summer, and the zucchini is coming in abundance. Whatever we can't eat I just shred and freeze in 2 cup portions for later, I can use it to make this bread, muffins or cup cakes.
 This is so good that even my older grandson will ask for it, and so easy he can help make it.
Zucchini Bread
3 1/3 cups all purpose flour or use 1/2 whole grain and 1/2 white (I use either wheat or spelt)
2 teaspoons baking soda
1 1/2 teaspoons salt
1 teaspoon cinnamon
1 teaspoon nutmeg
2 1/4 cups sugar
1 cup canola oil, melted butter or coconut oil
3 large eggs
2/3 cup water
2 cups shredded zucchini
Preheat oven to 350F.
Grease 2 bread pans.
Combine the flour, baking soda, sugar, cinnamon, nutmeg and salt. Set aside.
Add the oil, eggs and water.

Stir in the zucchini with a large spoon, not a whisk, otherwise you will be picking zucchini out of the wires.


Pour into pans.
Bake 1 hour or until pick comes out clean. Cool in pans for 10 minutes then turn onto a cooling rack.
Here is the recipe for the cupcakes, you might want to try these.
http://hearthandhospitality.blogspot.com/2010/07/healthy-surprise-cupcakes.html

Wednesday, July 20, 2011

Sweet Potato Fries

In an effort to get Caleb to try new foods his Auntie Leah made sweet potato fries with him. This will be the first in , hopefully, a series of "Picky Eater" recipes.
He always enjoys helping in the kitchen, we'll see how he feels about doing dishes in a few years.
 Auntie Leah made these with just some olive oil and sea salt so they would be as simple and plain as possible.
3 large sweet potatoes
olive oil
salt
If you would like, a sprinkle of cayenne or chili powder would be good too.
First, peel the potatoes.
Then slice.
And slice again into sticks.
This is where Caleb took over, spray some olive oil onto a sheet pan.
Then a little salt.
Then load the pan with the sweet potato sticks and drizzle with a little more olive oil and salt, toss them around in it.


Bake at 450F for 25-30 minutes.
Serve with Chicken Nuggets and green beans or fruit.
Good stuff!!

Wednesday, July 13, 2011

Spicy, Sweet Peach BBQ Sauce

I wanted something sticky sweet to brush over some chicken breasts so I started with some peaches I had in the freezer.
This peachy experiment turned out so well we will be using it often.
Start with about 1 1/2 cups fresh or frozen peaches in a small saucepan.
Add the juice of 1 lemon.
Add 1/2 cup ketchup, and 2 tablespoons adobo sauce, 1 teaspoon chili powder, 1 teaspoon liquid smoke, 1/2 teaspoon salt, 1/2 cup water.
Simmer for 15 minutes or until smooth and thick. Use a smart stick to puree or allow to cool then puree in a blender.
Now brush this beautiful, sticky concoction on some chicken and allow to rest in refrigerator for a couple hours. Bake for 45 minutes at 425F. or grill. Grilling would be my preference but I had too much inside work this time.
I served this with potato salad and a garden salad. Good stuff!

Wednesday, July 6, 2011

Sweet Roasted Tomatoes--Beginner How To

These were so good and easy. We had fun thinking up ways to use them, my favorites were on a grilled mozzarella cheese sandwich, chopped in pasta...and pureed in ranch salad dressing tossed in a green salad. Make these today and let me know how you used them!
Take several meaty roma tomatoes and slice lengthwise. Place in a large bowl and toss with enough olive oil to coat, a sprinkle of basil, oregano, salt and pepper, just guess, you can't go wrong.
Toss to coat well.
Lay on a sheet pan in a single layer.
Bake at 250F for 2 hours or more until they look shriveled and drier.
Taste one of them as soon as they cool, mmm, save some to play with. Store in a container in the refrigerator for a couple weeks.
Suggestions:
chop onto a pizza,a salad, add to a chicken saute, pasta or rice
The possibilities are endless!