Showing posts with label how to. Show all posts

Wednesday, October 30, 2013

Espresso, Chocolate Chip "Muffin in a Mug" - GF, Sugar-free, THM (S)

I am so fond of Autumn, with it's deeper, richer flavors, after spending the summer with the cool, lighter versions of everything from food to clothes, it is a welcome change. It is a sad thing to put away the sandals and capris, but ah, my favorite wool sweater.

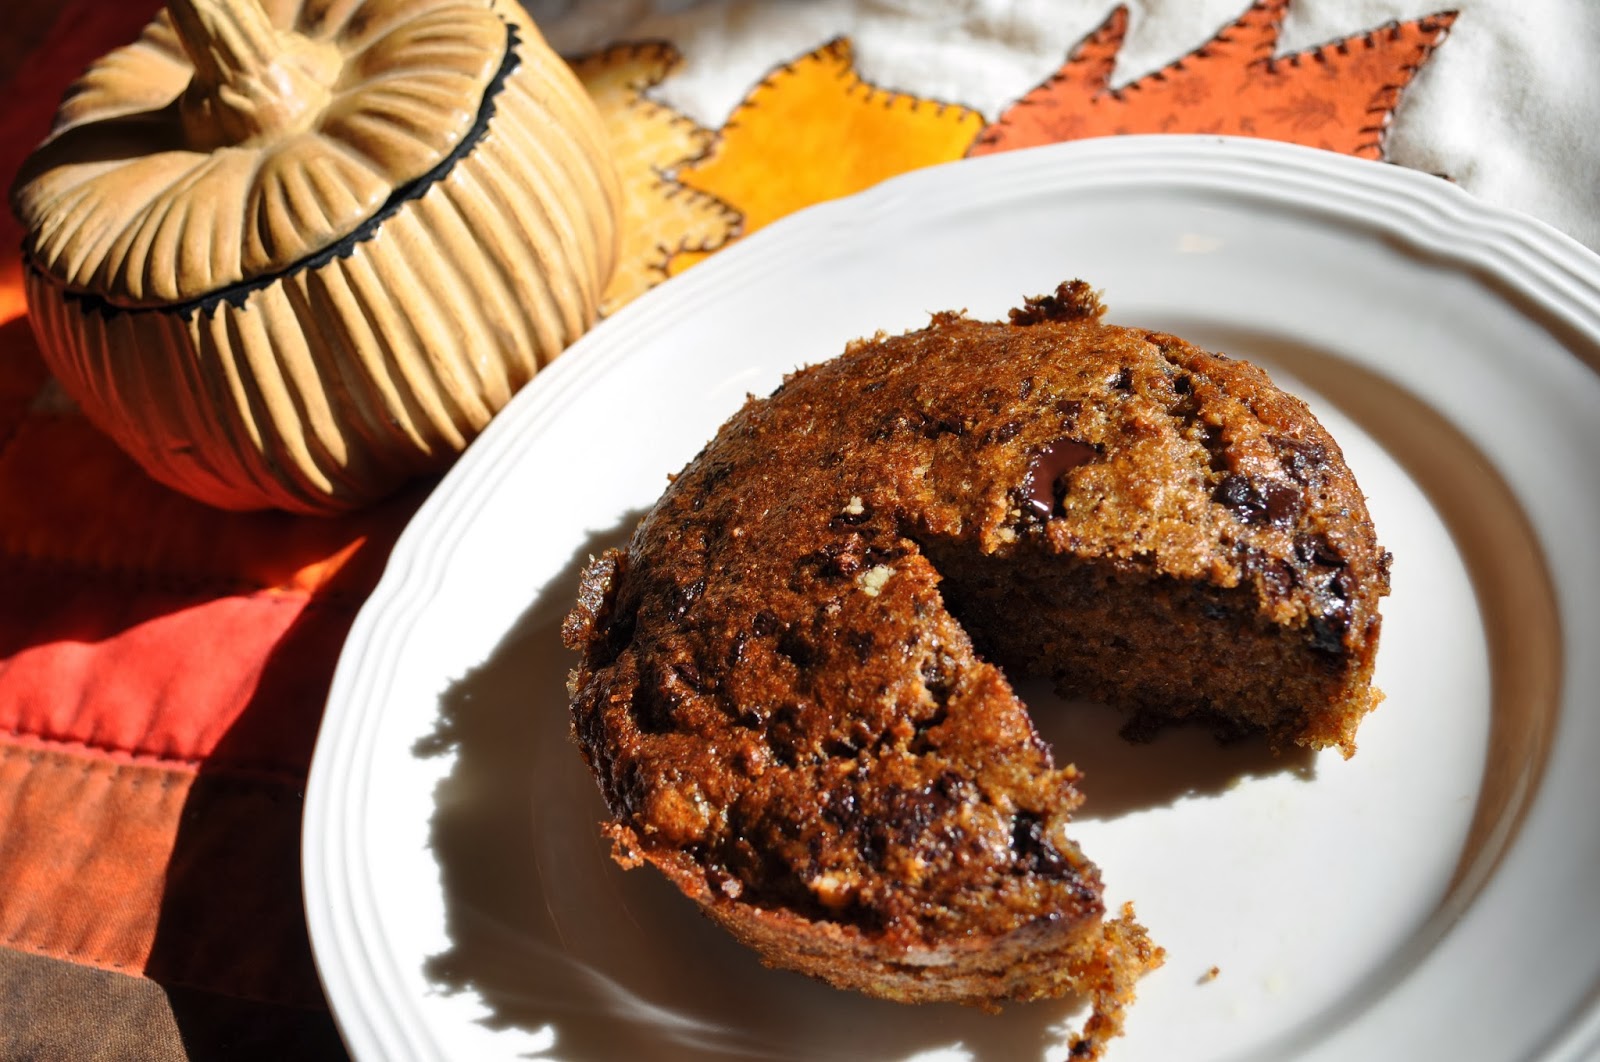
My favorite breakfast is a strawberry smoothie. I can have one for breakfast everyday and not become bored with it. Today, however, the house is cold, the temperature outside has dropped and the furnace is broken. I did not need an ice cold smoothie! I needed my wool sweater and a hot muffin!

I hesitated to post a "MIM" , muffin in a mug, because there are so many recipes already and all so similar. But this has to be my favorite variation, thought up while shivering in my kitchen holding a steamy cup of coffee, it feels less eggy or spongy, more like the flour muffins we are all used to. I hope you enjoy it.

Ingredients:
1 tablespoon butter, melted
3 tablespoons almond flour/meal
2 tablespoons flax meal
3 teaspoons erythritol
2 dashes pure stevia
1 egg, medium or large
1/2 teaspoon baking powder
1 teaspoon vanilla extract
generous pinch of salt
1 heaping tablespoon 90% chocolate, chopped ( I used Lindt )
1/2 -1 teaspoon espresso powder or instant coffee powder
Directions:
Spray or sparingly butter the mug or ramekin, I am using a glass Pyrex container which is a perfect size for the "Muffin in a Mug" recipes from Trim Healthy Mama , bonus is that if I am packing this for a snack or meal later I can just put the lid on when it is completely cool and take it with me.
Break egg directly into greased bowl,
 add all the ingredients except the chocolate.

 Stir. Add chocolate and give a gentle swirl to just distribute the chocolaty goodness throughout the batter.


 I bake mine in the toaster oven for 20 minutes, at 350F. Adjust time if necessary if your container is much larger or smaller. You can also microwave for about a minute if you are in a hurry.


A toothpick inserted will come out clean when done. Allow to cool for a couple minutes to set. Run a knife around muffin to dislodge and don't burn your mouth from impatience. :)

 Oh! Was this bite good!
Special thank you to Serene and Pearl for this wonderful eating plan! http://www.trimhealthymama.com/


Wednesday, August 29, 2012

Marinara Sauce with Canning Instructions

Having jars of ready made sauce on hand can make dinner a cinch! Simply boil your favorite pasta, prepare salad, open sauce...
However, some grocery store pasta sauces have high fructose corn syrup, msg, and a boat load of other unhealthy ingredients, making your own is simple and healthy. If you don't want to can it then just freeze it in jars or ziploc bags.


Ingredients:
Amounts will vary according to how much you want to make and the size of the pot. It really is one of those "throw it in and taste it" things. Trust me!
Tomatoes
Onions
Garlic
Italian seasoning blend or basil, oregano, thyme
Salt
Olive oil
Tomato paste if you want it thick
Optional:
a splash of white wine
parsley
a chopped carrot
chopped celery stalk
For Trim Healthy Mamas omit the olive oil so you don't mix carbs with fat.  And be sure to use Dreamfields Pasta to fit the low-carb plan.
In a large pot, over medium high heat, put about 3 tablespoons olive oil and saute the onions, carrots and celery if using, when tender add the garlic, stir occasionally.

If using wine, add before tomatoes, it will bring up the brown bits from the bottom of the pot which add a lot of flavor.
Add all other ingredients, season to taste, in a 6 quart pot I usually use 3-4 tablespoons of dry herbs and 2 teaspoons salt.


If it tastes too acidic then add a bit more olive oil.
From here you can serve over pasta, bag and freeze, or can.
To can, ladle into clean, sterile jars, leaving 1/2 inch headspace. adjust two piece caps. Process 35 minutes in a boiling water canner. (According to the Ball Blue Book)
After 35 minutes, remove from canner, allow to rest undisturbed for 24 hours, then wash, and label. Store in a cool dark place.
A few additional suggested uses, sub sauce, pizza sauce, add chicken stock and cream for tomato soup. Don't forget this is great for dipping bread sticks or mozzarella cheese sticks into, yum.
Go have fun with it, the work is finished; just pop the lid and enjoy!

Friday, January 6, 2012

Beer Batter Onion Rings

Fried foods are something from which I generally stay away. However, everyone has something for which they will cave.
Mine is battered onion rings, so much more if it is a beer batter.
Frying anything is time consuming but not difficult. Probably a good thing it is so messy, that alone keeps me from frying anything frequently.
Recipe:
1 small can of beer, room temperature
1 large egg
1 teaspoon salt
pinch black pepper
pinch cayenne
pinch dry mustard powder
1-2 cups all purpose flour or spelt
oil for frying
If you have a little (or large) fryer that's nice, I don't, I use what I have because I have no where else to store things I only use occasionally.
Pour at least 3 inches of oil into a medium/large sauce pan. Using a candy thermometer, bring oil up to 350F. watch and adjust the temperature as necessary.
Mix everything except the flour in a large, shallow bowl.
Add the flour, first 1 cup then bit by bit until you have the consistency of thick Elmer's glue, not quite pancake batter because that makes thick, doughy o-rings; unless, of course, you like doughy, gloppy, thick onion rings, then by all means go for it. I like mine lightly battered and crispy.
Using a fork swirl the raw onion rings, a few at a time, in the batter, thoroughly coating each one.

 One by one drop them into the hot oil until you have several in the oil but they are not crowded at all.
 As they begin to turn golden turn them over in the oil, use another fork or a slotted spoon. Remove from pan to a paper towel lined plate or baking sheet. Keep in 200F. oven to warm until all are finished.
Serve warm or freeze for another day.

Friday, November 4, 2011

How to Cut a Fresh Pineapple

Here is a quick "how to" for anyone looking for basics.
Select one that is golden on the bottom, not green and hard all over. It should be fragrant, if you can't smell pineapple then it isn't ripe.
Twist off the top.
Slice off each end.
 Stand on end.
 Slice down each side to remove the outer rind.

 This is the core in the center.
 Slice down next to the core.
 Toss the core into the compost, your garden will appreciate you.
 Cut each piece into long slices.
 Then line up the slices and cut into chunks.
Enjoy!

Wednesday, October 26, 2011

Applesauce Roulade with Cream Cheese Filling

I have used this recipe for years to make a pumpkin roll but recently I decided to try different fruits in the cake. Applesauce hit the mark!
Whether you want applesauce or pumpkin this is an easy, tasty recipe. If you have never rolled a cake then there are step by step photos for you.
First, the right size pan is essential, the pan you need will be labeled "jelly roll". It will be deeper than a sheet pan and a little smaller.
Cake:
3 eggs
1 cup sugar
2/3 cup applesauce or pumpkin puree (not pie filling)
1 teaspoon lemon juice
3/4 cup flour, all purpose or white spelt
1 teaspoon baking powder
2 teaspoons cinnamon
1 teaspoon ginger
1/2 teaspoon nutmeg
1/2 teaspoon salt
Filling:
8 oz. cream cheese, room temperature
4 tablespoons butter, at room temperature
1 cup powdered sugar
1/2 teaspoon vanilla
Grease the pan, line with wax paper, grease wax paper. Set aside. I use coconut oil for greasing pans because it is a much healthier fat than shortening.

 This is my favorite.
Preheat oven to 350F.
Mix all the dry ingredients in a large bowl.
In another bowl, combine the eggs, sugar, vanilla, lemon juice, and applesauce or pumpkin.

 Add the dry to the wet ingredients, stir lightly, just to combine.

 Pour into prepared pan.
 Bake for 15 minutes or until a toothpick inserted into the center comes out clean.
While it is baking lay a clean tea towel or dish towel on the counter, dust with powdered sugar.

As soon as the cake comes out of the oven, invert it onto the towel.
Peel the wax paper off CAREFULLY or you will tear the cake.
Now roll the warm cake with the towel and set aside to cool for 30 minutes or more.


In a large mixing bowl, beat the cream cheese with the butter until light and fluffy.
 Add the powdered sugar and vanilla.
 When the cake is completely cool, slowly unroll.
Spread with filling to within 1 inch of edges.

Re-roll.


Wrap in plastic and place in refrigerator for at least 1 hour. This will set the filling and it won't run out when cut.
When ready to serve, unwrap, slice, dust with powdered sugar, and appreciate all the ooohhs and aaahhs. Good stuff!
Maybe a cup of hot cider or coffee!