Thursday, September 27, 2012

Sugar Crinkle Cookies, A Little Bite of Sweetness!

How can you resist such a tiny bit of sweet, buttery goodness? Maybe just one more...
After my son taste tested a few of these, I packaged them up to go to a bake sale.
These little gems are tender inside and slightly crisp on the outside with a gentle lemon flavor. Great for a quick dunk in a glass of cold milk or beside a cup of tea.
Makes approximately 5 dozen.
 Ingredients:
1 cup butter
1 1/2 cups sugar
2 large eggs
1 teaspoon lemon extract
1 teaspoon vanilla extract
2 1/2 cups flour
2 teaspoons baking powder
1/2 teaspoon salt
1/4 cup sugar for rolling them, maybe a little more
Beat the butter and 1 1/2 cups sugar until light and fluffy. Add eggs and flavorings. Beat until blended.
Combine flour, baking powder, and salt; gradually add to the butter mixture, beating well.
Cover and chill dough for at least 2 hours, this will make it much easier to roll into balls, less stuck on your hands.
Shape dough into 1 inch balls. Roll balls in sugar.


Place balls on ungreased baking sheets.
Bake at 350F. for 8-9 minutes or until slightly golden on edges toward bottom.

Allow to rest on sheets for 2 minutes then remove to cooling racks, this way they are less apt to break.
I really need some better lighting in my kitchen...

Thursday, September 13, 2012

Super Easy, Fudgy, Chocolate Crinkle Cookies

I was browsing the cookie section of my recipe binder with an upcoming bake sale in mind, when I ran across this recipe for chocolate crinkle cookies, I couldn't remember the last time I made them, nor why I hadn't.
There are a few things to consider when packing something to go, distance, temperature, will it need refrigeration, to whom is it destined, and who is going to be handling the delivery.
 Since these were going to a bake sale, I will give you my thoughts on bake sales whether you want them or not.
1. The items you are donating should not exceed the price for which it will be sold; in which case you would do just as well to give them the money it would have cost for the ingredients.
2. The items should be something easy and popular, this is not the time to experiment with the spinach brownie recipe you want to try but you know the rest of the family won't touch them.
3. Don't send something fragile. It may be picked up several times and a ziploc full of crumbs does not sell.
4. Don't send a product which will need refrigeration, it won't get it then it could be rancid by the time it is eaten.
5. Always package items in containers you do NOT want returned.
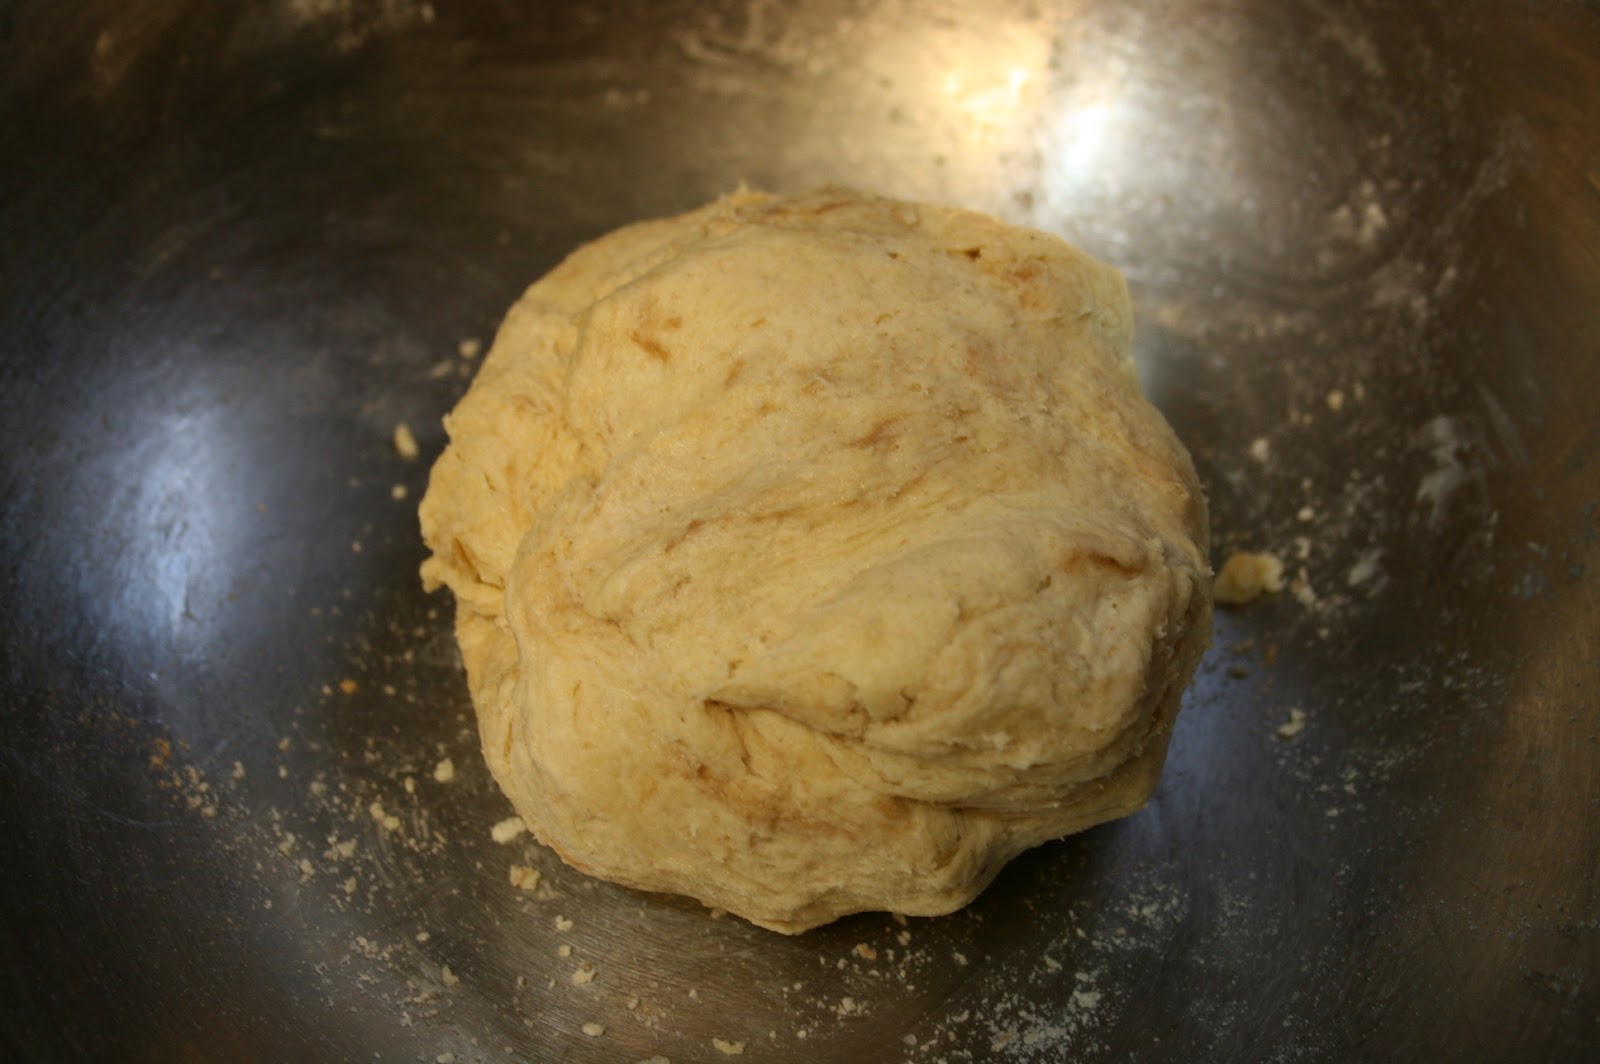
I had a very hectic week so I did this in stages, not a bad idea even for easy weeks. I made the dough the night before while dinner was cooking, then placed in a container to chill overnight. This dough is easier to handle if chilled at least 2 hours.
Makes approximately 48 cookies.
Ingredients:
1/2 cup butter
1 2/3 cup sugar
2 teaspoons vanilla
2 eggs
2  1oz. squares unsweetened chocolate, melted
2 cups all purpose flour
2 teaspoons baking powder
1/2 teaspoon salt
1/3 cup milk
confectioners sugar for rolling, 1-1 1/2 cups (that's a guess)
I melted the unsweetened chocolate in a small, very heavy bottom, sauce pan.
Mix, in a small bowl, flour, baking powder, and salt, set aside.
Cream the butter, add sugar, beat well. Add vanilla and eggs, beat well.
Add the flour mixture, alternately, with the milk, until all is incorporated.
Chill at least 2 hours.
When ready to bake, remove from refrigerator, and preheat the oven to 350F. Fill a small, shallow bowl with confectioners sugar. Using a spoon, scoop out a heaping teaspoon sized amount and roll in your hands until you have a smooth ball. Drop into the sugar and roll until well coated. Place on a lightly greased sheet pan.
I am having problems with the light settings on my camera, the cookies are not really blue, sorry.


 Bake for 15 minutes.
Allow to cool before popping one into your mouth, trust me on this one!
 As they bake and rise slightly, they form interesting cracks all over the exterior, mmmm.

 This is how I send them to the lady in charge of the bake sale, covered in plastic wrap too. This way she could sell them as a whole or divide them into little baggies to sell in small quantities.
The bake sale was to support The Homeschool Foundation, which helps single parents with homeschooling materials and so much more http://www.homeschoolfoundation.org/ , check them out!

Wednesday, August 29, 2012

Marinara Sauce with Canning Instructions

Having jars of ready made sauce on hand can make dinner a cinch! Simply boil your favorite pasta, prepare salad, open sauce...
However, some grocery store pasta sauces have high fructose corn syrup, msg, and a boat load of other unhealthy ingredients, making your own is simple and healthy. If you don't want to can it then just freeze it in jars or ziploc bags.


Ingredients:
Amounts will vary according to how much you want to make and the size of the pot. It really is one of those "throw it in and taste it" things. Trust me!
Tomatoes
Onions
Garlic
Italian seasoning blend or basil, oregano, thyme
Salt
Olive oil
Tomato paste if you want it thick
Optional:
a splash of white wine
parsley
a chopped carrot
chopped celery stalk
For Trim Healthy Mamas omit the olive oil so you don't mix carbs with fat.  And be sure to use Dreamfields Pasta to fit the low-carb plan.
In a large pot, over medium high heat, put about 3 tablespoons olive oil and saute the onions, carrots and celery if using, when tender add the garlic, stir occasionally.

If using wine, add before tomatoes, it will bring up the brown bits from the bottom of the pot which add a lot of flavor.
Add all other ingredients, season to taste, in a 6 quart pot I usually use 3-4 tablespoons of dry herbs and 2 teaspoons salt.


If it tastes too acidic then add a bit more olive oil.
From here you can serve over pasta, bag and freeze, or can.
To can, ladle into clean, sterile jars, leaving 1/2 inch headspace. adjust two piece caps. Process 35 minutes in a boiling water canner. (According to the Ball Blue Book)
After 35 minutes, remove from canner, allow to rest undisturbed for 24 hours, then wash, and label. Store in a cool dark place.
A few additional suggested uses, sub sauce, pizza sauce, add chicken stock and cream for tomato soup. Don't forget this is great for dipping bread sticks or mozzarella cheese sticks into, yum.
Go have fun with it, the work is finished; just pop the lid and enjoy!

Monday, August 20, 2012

Another Simple Bowl Meal, Chicken with Fresh Corn and Veggies

 "Uni-meals"(everything in one bowl, pile, or casserole) are so appealing to me because it just seems simple, almost too simple, really, how could you not like them, all the flavors mingled together, lots of veggies on top of a bed of rice...yeah...
Loads of options here, skip the chicken to make it vegetarian, with or without a sprinkling of cheese for lactose free or vegan, white rice or brown, quinoa if you prefer instead of rice. I like choices. 
I rarely plan a "bowl meal", usually it has been a busy day and not enough of any one thing to make a meal, but a variety of little bits, which put together are plenty. I'll give you the ingredients to this one but, as always, make whatever substitutions you care to, that's what makes a recipe your own.
Serves 4
Ingredients:
1 cup cooked, chopped chicken
1/4 cup thinly sliced leeks or chopped onion
1 clove garlic, minced
1/4 cup chopped red pepper
1/2 cup fresh or frozen corn
1 teaspoon herbs de provence
a dash black pepper
salt to taste
2 tablespoons olive oil or butter
Monterey Jack cheese
1 avocado, chopped or mashed
3-4 cups cooked rice or quinoa
In a large skillet, heat oil and toss the leeks, red pepper and corn for 2 minutes. Add garlic and chicken, stir. Add herbs de provence, pepper, and salt. 
Spoon over hot rice, top with cheese and avocado if you are using. 


 I served this for lunch with fruit and confetti bread http://hearthandhospitality.blogspot.com/2012/07/confetti-batter-bread.html they looked so good together with all the little bursts of color. Thanks, Gail for having lunch with me, you and your family make life as fun and colorful as our meal.

Monday, August 13, 2012

Maple Glazed Scone...How many does this make?


 Did you notice right away that one is missing? Yea, someone had to be the "guinea pig", this was one instance it was good to be the test subject. I used maple extract for the flavoring because syrup wouldn't give this enough flavor without adding too much moisture. Of course you could play around with the glaze and syrup, maybe a good brushing with syrup would soak in then a lighter glaze...
Ingredients:
2 cups flour
3 tablespoons sugar
3 teaspoons baking powder
1/2 teaspoon salt
1 teaspoon maple extract
1 1/4 cups whipping cream or heavy cream
Lightly grease a sheet pan, set aside.
Preheat oven to 400F. Mix flour, sugar baking powder, and salt in a large bowl.
Mix the extract in with the cream
then add to the dry ingredients, gently stirring just until combined.
Shape in a disc, cut into 6 or 8 pieces, place on prepared pan.

Bake 9-11 minutes. Cool on wire rack. Glaze, or not.

Glaze:
1 cup powdered sugar
1 teaspoon maple extract
1-2 tablespoons milk or cream
Mix until smooth, thin enough to drizzle but not watery.


Did I mention how good these were with coffee? "Thou shalt not covet!"