Sunday, May 26, 2013

Creamy, Spinach, Mushroom Ravioli

The last post was on April 3rd, it is now the end of May, my camera cable would no longer load the photos no matter how many different things I tried it was continuing to be more stubborn than I.  Sad, I love to take photos, flowers, events, children, grandchildren, and yes, food. I tried, everything that came to mind, including, but not limited to, moping, to no avail.  I asked two photographers, and someone who is married to a photographer, they couldn't help me.  Then, of course, mentioning it in conversation to my older son (computer geek), he just opened a tab while we were talking, looked it up, sent link, said "here you go, Momma, it's in your email".  I opened, clicked, ordered, and thanked him, that fast! For those of you, if there are any left, who use older DSLRs which have a compact flash card, I now load all my photos faster and easier than ever with a pixelflash USB adapter. At the risk of sounding like an advertisement, if you need one, get one, you won't be sorry!

Now, back to the foodie stuff!

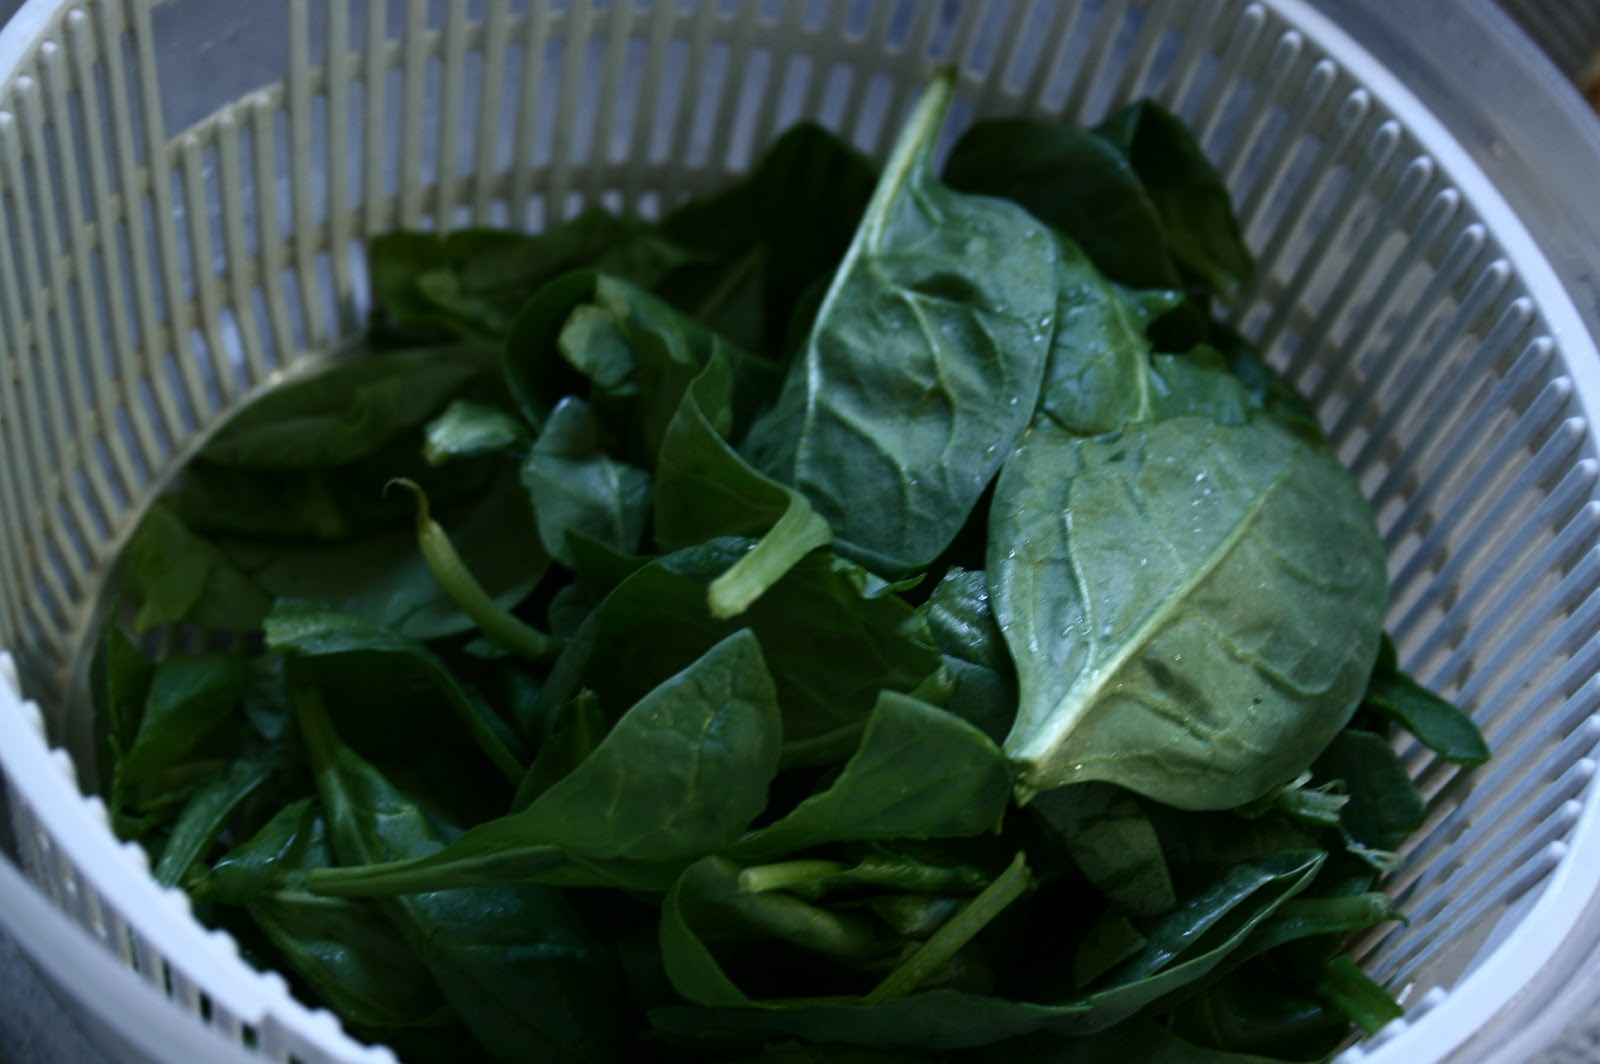
Made this incredible spinach and mushroom sauce and put it over cheese ravioli, makes me hungry just looking at the photos!
Ingredients:
1 large package cheese (or meat) ravioli from the frozen food or refrigerated section of supermarket, or low carb pasta for the "Trim Healthy Mamas" (I like DreamField's pasta)
8 oz package white button mushrooms, sliced
2 tablespoons butter
2 tablespoons flour (THM, omit this)
salt and pepper
4-6 oz smoked mozzarella cheese, shredded
10 oz fresh spinach, washed and dried
6-8 oz cream
Directions:
In a large sauce pan, melt butter and saute the mushrooms until golden brown.
 While these are cooking, start the water in a pasta pot.  When water comes to a boil, add the ravioli, stir.  When they float they are done.
 Add flour, stir.
Add the spinach, stir, it will begin to wilt, stir some more to incorporate all.


 Add the cream. Stir some more...

 Allow to simmer for a few minutes to thicken.
 Add the shredded cheese.

 Yum!  Salt and pepper to taste. Drain ravioli, if you haven't already. Serve sauce over ravioli, enjoy!
For the "Trim Healthy Mamas", remember that this is a side dish, use the low carb pasta, and maybe a lighter cheese, don't neglect ample protein and veggies!

Wednesday, April 3, 2013

Creamy Lemon Mousse --Egg-less, and sugar-free, No Cook, Super Easy

So cool, so creamy, so rich, and so easy, you will find this at the top of your "go to" desserts list.
I can think of a variety of ways to use this yummy concoction in addition to simply enjoying in a chilled dessert dish; spooned into a baked pie or tart crust, or layered in a trifle dish with strawberries or raspberries and shortbread cookie chunks, or dolloped on top of sliced pound cake. Any way you dish it up it is a winner!
 I used a few drops of Young Living Lemon Essential Oil, but a couple drops of lemon extract would do quite nicely if you don't have any.
Ingredients:
1 cup heavy cream
1  8oz. package cream cheese,softened to room temperature
1/2 cup granulated sugar or a few sprinkles of stevia
juice and zest of 1 lemon
a few grains of salt
2 drops vanilla extract
4 drops Young Living Lemon Essential Oil, optional
In a large bowl, whip the cream until light and fluffy. Scrape into a dish and set aside.
Using the same bowl, beat the cream cheese until light and fluffy, add the stevia or sugar and beat. Add the lemon zest, juice, salt, vanilla and lemon oil (if using). Beat until all is incorporated.
Gently fold in the whipped cream.
 Spoon into serving dishes, or pie shell, or whatever. 
Chill for at least 2 hours. Serve with cookies if desired, I took advantage of the fact that it has no leaven products and served at our Passover Seder. Delicious, but don't take my word for it-go make it!


For Trim Healthy Mamas this is an S, use the stevia option of course, and 1/3 fat cream cheese.

This yummy, fluffy goodness is also seen linked in to Butter Believer at : http://butterbeliever.com/sunday-school-blog-carnival-41413/  with loads of other good recipes and articles.

Sunday, March 17, 2013

Hot Buttered Pretzels

I am not a shopper. Walking the mall is not my favorite past time. I do like to browse stores like Williams-Sonoma, go figure?! So what does the mall hold? Soft, golden, buttery pretzels; the aroma wafts throughout the walk ways for several stores, chases me around the kiosks, calling to me.
One of my favorite cookbooks, King Arthur Flour Baker's Companion, has an excellent hot buttered pretzel recipe. I have never made something from this book which has not turned out well.
There you have it, still warm, soft, brushed with real butter, oh happy day! The only change I made to the King Arthur recipe was to give the dough a baking soda bath before baking, instead of sugar, this causes the exterior to be alkaline and give the pretzel the familiar chewy texture, it also causes the exterior to brown quickly without drying the interior.
Dough:
2 1/2 cups all purpose flour
1/2 teaspoon salt
1 teaspoon sugar
2 1/4 teaspoons instant yeast
1 cup warm water
Bath:
1/2 cup warm water
1 tablespoon baking soda
Topping:
3 tablespoons butter, melted
coarse salt of choice, kosher or pretzel
In a large mixing bowl, combine the water for dough, sugar and yeast, allow to rest 5 minutes.
 Add the rest of the dough ingredients, knead for 5 minutes, until soft and smooth, not sticky. Cover and allow to rise 30 minutes.

Knead again for 1 minute.
Cut into 8 pieces.
Preheat oven to 500F.
Mix the water and baking soda in a small pan, warm and stir until most of the soda is dissolved and it is hot to the touch.
Roll each piece into a long snake.
Dip into the hot soda bath.
Tie into shape, place on a lightly greased sheet pan.
Sprinkle with salt.
Bake for 8-9 minutes.

Brush with melted butter.

Can hardly wait! What?! Who is going to miss that little piece?
Enjoy warm. These are best the day they are made.


Gone...so sad.

Tuesday, March 12, 2013

Savory Roasted Potatoes and Onions

This is a follow-up to the roasted cauliflower post, since then I have roasted loads of veggies. I was at a class recently, afterward discussing healthier cooking and getting vegetables into our children (and husbands), I told one of the ladies that I had been roasting them with different seasonings, she replied that she had been doing the same and her favorites were snow peas and parsnips. Okay, so I confess that parsnips are not a favorite vegetable for me, I have "palate imprinting" from my Mom's vegetable soup. Perhaps I'll be brave soon and try them roasted but for now, here are the potatoes and onions which were delicious. And, yes, I know potatoes are not a vegetable.
3 lbs red or gold potatoes, washed and cut into bitesized chunks
4 medium onions, peeled and cut into bitesized chunks
olive oil for drizzling
salt
pepper
smoked paprika
onion powder
garlic powder
First, don't freak out because I didn't put measurements! Some people like more seasoning than others so we are going to use what we like, a little or a lot, you choose.
Preheat the oven to 450F.
In a very large bowl, place the potatoes and onions.
Drizzle with enough olive oil to lightly coat, maybe 3-5 tablespoons.
Sprinkle all the seasonings on the top.
Toss to coat all.
Place on an ungreased sheet pan. Be sure to leave space between so they roast not steam.

Roast for 18-20 minutes or until they are tender when poked with a fork.

 A "twofer".
 Crisp outside, tender inside, full of flavor!
Hope you enjoy them!
And just in case you have to have measurements, I used 1/2 teaspoon salt, 1/4 teaspoon pepper, and a heaping teaspoon everything else.

Thursday, February 21, 2013

Roasted Cauliflower and Carrots- So Much Flavor!

 I had read that roasting vegetables intensified the flavor, but was always put off by the burned appearance. Not any more! These were so tasty that I have made them four times in the last two weeks. The crisp edges add even more flavor, sweetness, and dimension to the vegetables.

The first time I used only cauliflower, olive oil, and sea salt. So good! The second time I added carrots, a dusting of garlic powder, and smoked paprika. I don't think there is any end to experimentation with this!

1 head cauliflower
1/2 pound carrots, cut into sticks
olive oil
sea salt
pepper
smoked paprika (optional)
garlic powder (optional)
I did not give exact spice measurements because it is really personal preference, no matter how much salt I add my husband will add more at the table, but I like lots of spice, so if it looks good to you then it probably is.
Preheat oven to 500F.
Break apart the head of cauliflower into small florets.
Place in a large bowl with the carrots , I had to do mine in batches that's why you don't see the carrots until the end.
Drizzle with a couple tablespoons olive oil, sprinkle with the spices of choice. Toss until well coated, add more oil if needed.


 Arrange on a sheet pan with lots of space in between, if too close then they will steam not roast.
 Roast for 12-20 minutes depending on how crisp or tender you want them.
 The dark ones on the edges are the best!

I ate these as a meal one day they were so good. Or you could serve beside a burger, chicken...instead of popcorn for movies, we may be repeating tonight.

For Trim Healthy Mamas don't forget the protein and limit the carrots for an S.